Tuesday, March 15, 2011

A Stampendous Spring Box

stampendous flower box1

stampendous box 3

stampendous box5

stampendous box 6

I
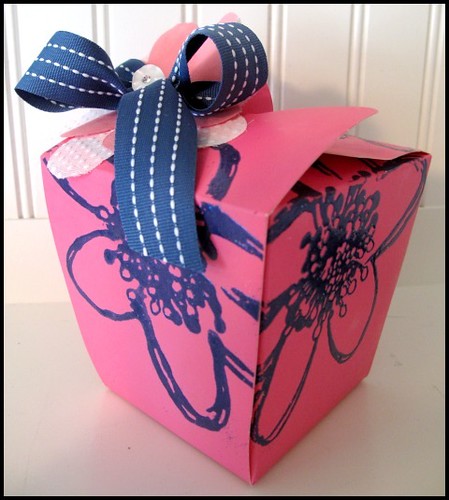
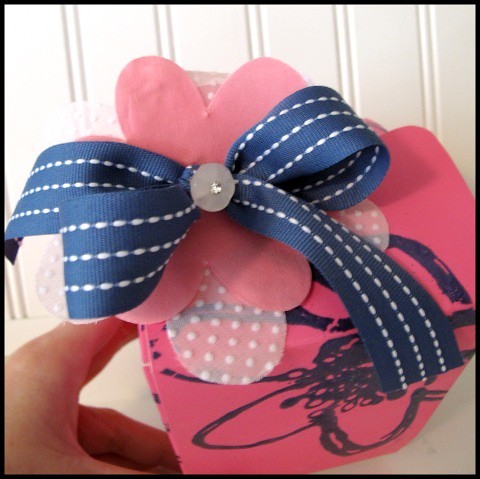
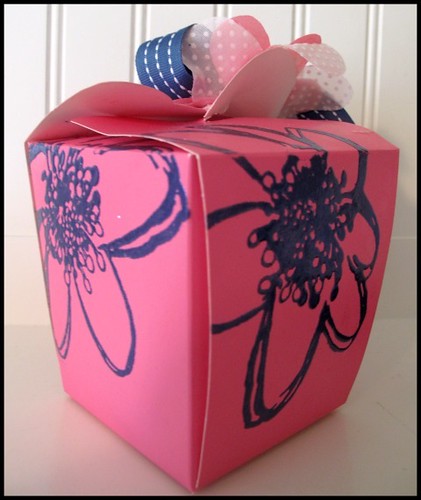
am so happy to share with you all today some fabulous product from Stampendous. This is my first Blog Star assignment, I decided to make a Spring goodie box using these Stampendous products, the Jumbo Perfectly Clear Handle, Cling Jumbo Water Lily, Pearluster Embossing Powder (blue), and the Clear Embossing Ink, Boss Gloss. I also used a large pink chinese take out box, and some fun handmade fabric flowers from K & Company, a clear studded button also from K & Company and American Crafts Premium Ribbon in denim to complete my project.


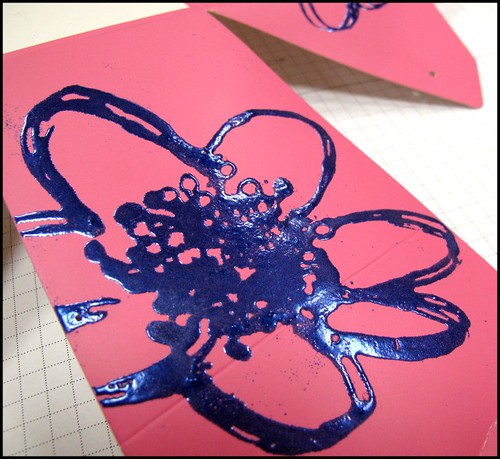
For my Stampendous Spring Goodie box, I simply stamped my large Water Lily stamp with the Boss Gloss, and randomly made a pattern all over my disassembled chinese box. I then dusted the wet gloss with the Pearluster blue embossing powder. After shaking off the excess embossing powder I then gently heat gunned the flowers to make a raised and radiant flower. After letting my box dry, I then assembled it and embellished the box with my ribbon, button, and flowers.

This spring box would be the perfect gift filled with paper grass and topped off with yummy jelly beans, and brightly foiled chocolate eggs.

Thanks for all your sweet comments

I hope you have a Stampendous Day!
Photobucket


Sunday, March 13, 2011

Starving Artistamps Special!

A Super Spring Special is going on over at Starving Artistamps!! This special is only running through March 17th so hurry so you don't miss out! You can check out all the new Starving Artistamps HERE!

Thanks for all your sweet comments!
Photobucket

Wednesday, March 9, 2011

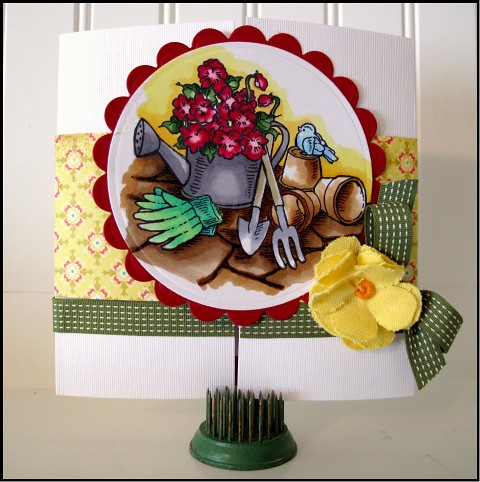
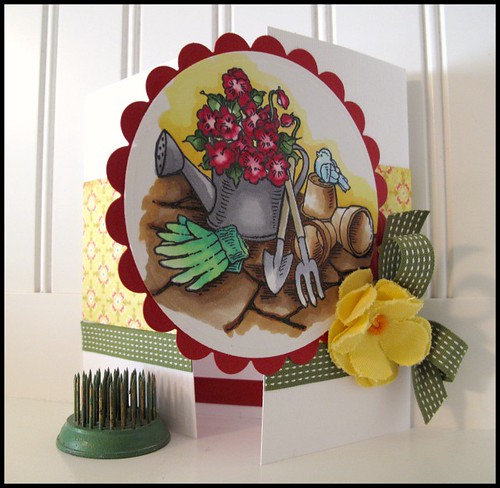
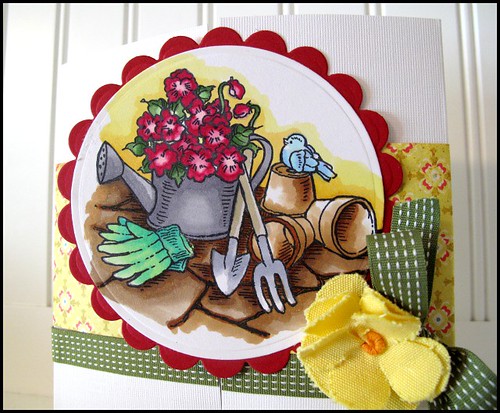
A Stampendous Garden!

stampendous garden 2

stampendous garden 5

Stampendous garden 1


H
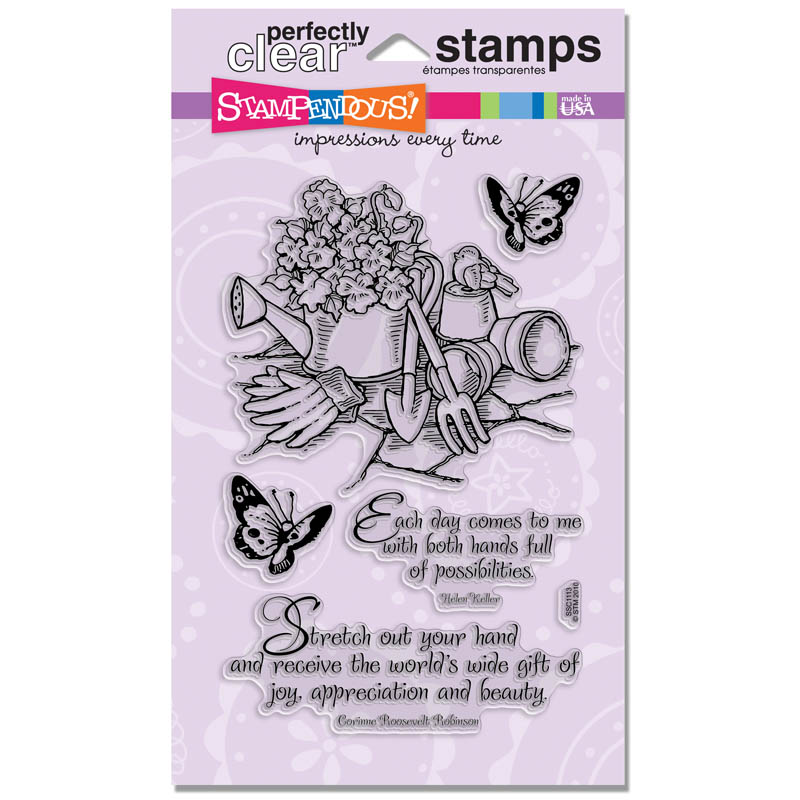
ere is my third card I submitted to become a Stampendous Blog Star. In this card I used the Stampendous set Garden Beauty. Stayed tuned for more samples using fabulous products from Stampendous in the near future.

Thanks for all your sweet comments!
Photobucket

Sunday, March 6, 2011

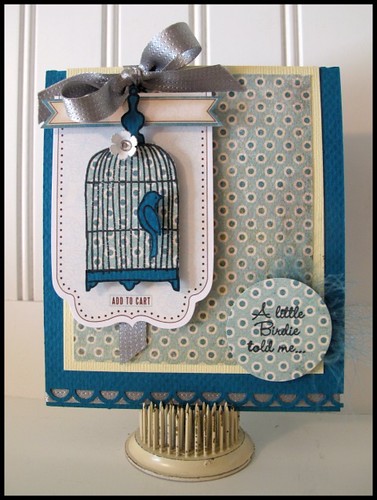
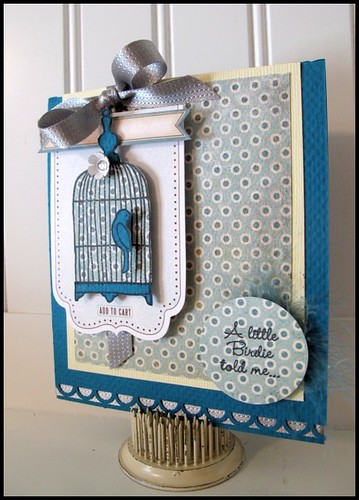
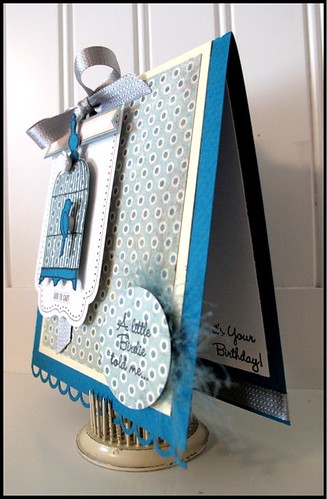
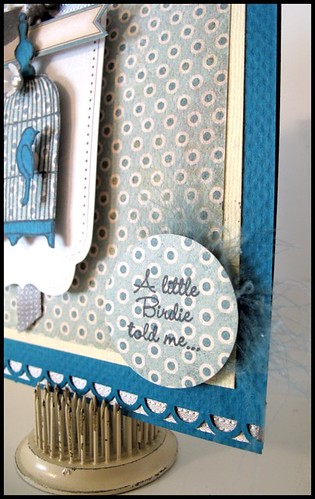
A Stampendous Birthday!
stampendous birthday

stampendous birthday 2

stampendous birthday 4

stampendous birthday 3


S
tampendous stamps are the best, and I am thrilled to be a part of this awesome company! Here is one of my cards that I submitted to them to become a Blog Star using the Stampendous Birthday Cages Perfectly Clear.
Thanks for all the sweet comments!
Photobucket

Friday, March 4, 2011

A Stampendous Thanks

Stampendous thanks 1

stampendous thanks 2


Happy Friday!

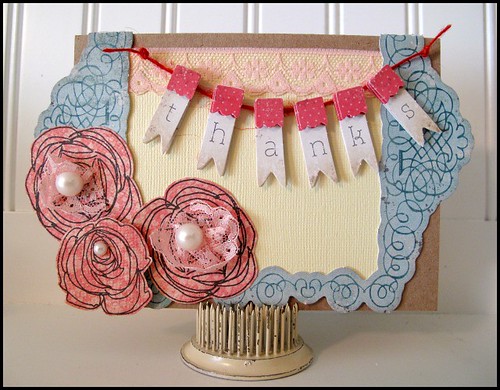
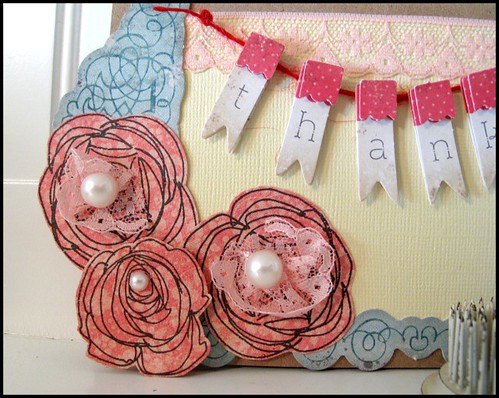
I wanted to share some exciting news, I have been chosen by the fabulous stamp company Stampendous to be one of their Blog Stars! I am thrilled to be a part of this team, Stampendous stamps are awesome and so much fun to work with! Here is one of my cards that I submitted to them using the Stampendous Ranunculus Perfectly Clear set. Thanks Stampendous for this opportunity!

Thanks for all your sweet comments!
Photobucket

Tuesday, March 1, 2011

The King

the king.1

The King 2

H
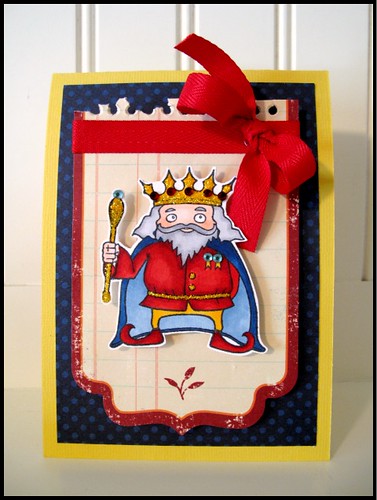
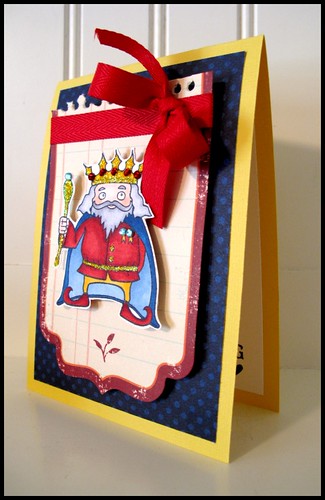
ere is a new card I made with the new Starving Artistamps line of stamps, Antidespesstamps Royalty designed by the very talented Nina Aasulnd. This set was so much fun to work with, the set super versatile too. I'm seeing this card as the perfect Father's Day card!

Thanks for all your sweet comments!
Photobucket

Sunday, February 27, 2011

It's Good to be the Queen

It's Good to be Queen1

It's Good to be Queen 3

It's Good to be Queen2

It's Good to be Queen 4

T
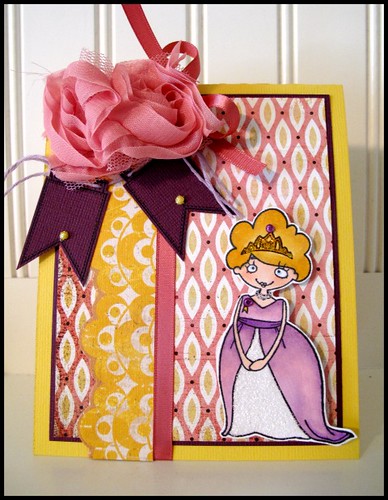
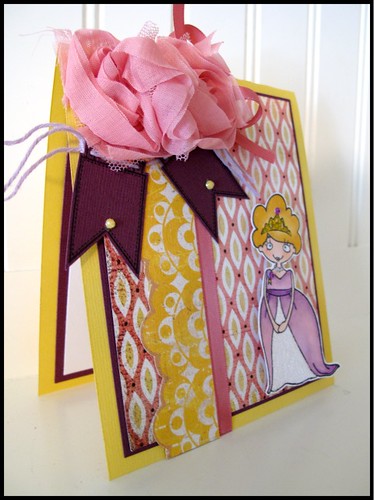
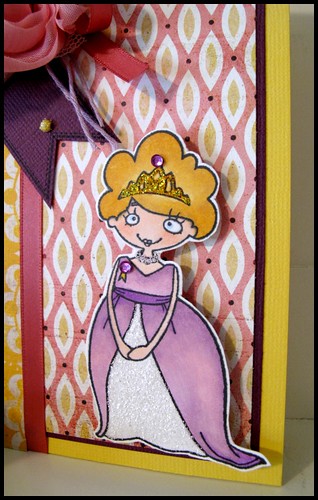
he new Starving Artistamps line of stamps, Antidespesstamps Royalty designed by the very talented Nina Aasulnd, is absolutely adorable and so much fun to play with. here is one of my favorite stamps of the set, the Queen. "It's Good to be the Queen"

Thanks for all the sweet comments!
Photobucket

Tuesday, February 22, 2011

The Perfect Hostess Gift

winebottle1

winebottle 2

winebottle3

winebottle6


Supplies:
supplies

close up flower

S
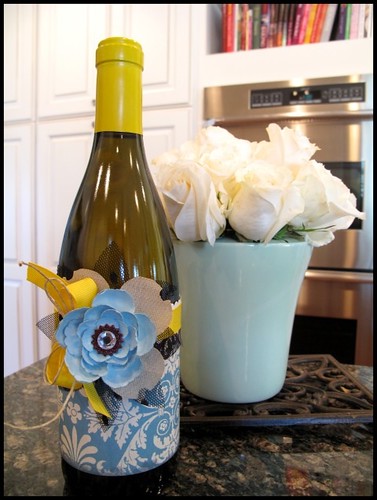
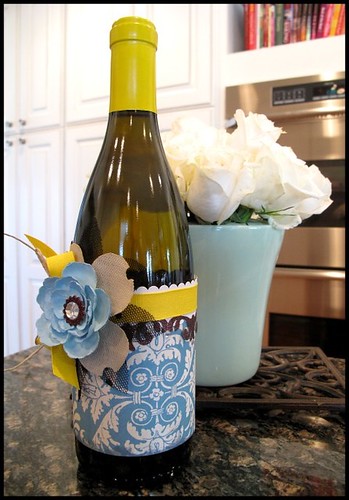
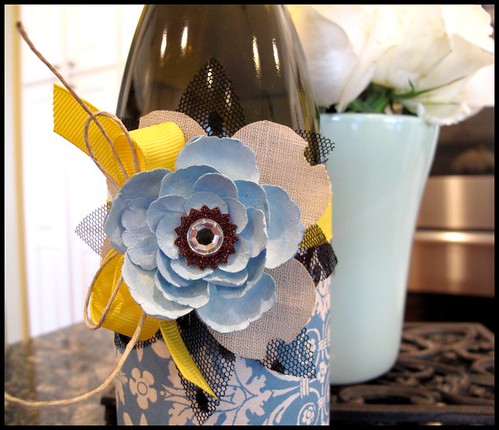
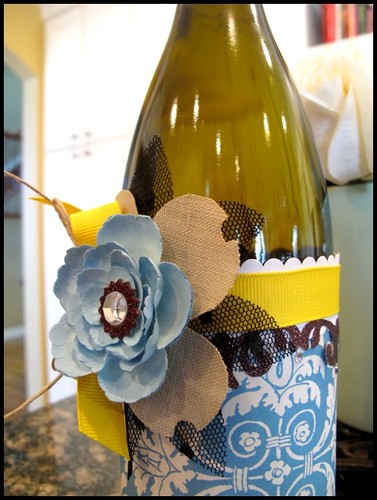
pring is right around the corner and everyone is starting to come out of the long winter's hibernation. Get togethers, parties, and luncheon invitations are starting to come in the mail. This means it is time to stock up on hostess gifts. My go-to gift to give is usually one of my favorite bottles of wine. To make the gift extra special is to decorate it with all of the beautiful crafting supplies that we all hoard.

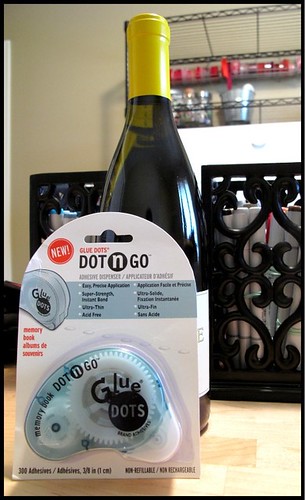
Here is a bottle of white wine that I decorated and assembled using Glue Dots®, my favorite adhesive to use when making projects like this. I can always trust the strong bond of those useful little dots to hold my projects together.

Thanks for all you sweet comments!
Photobucket

Sunday, February 20, 2011

I'm A Fool For You!

SA A Fool For You

SA A Fool For You 2

SA A Fool For You 3

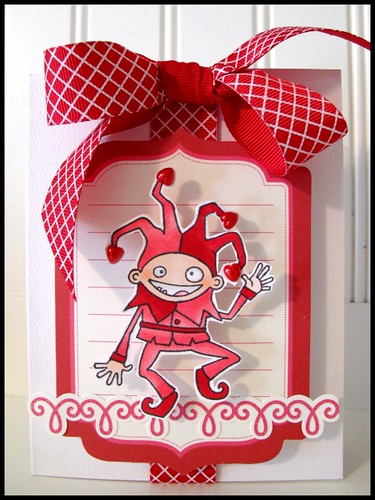
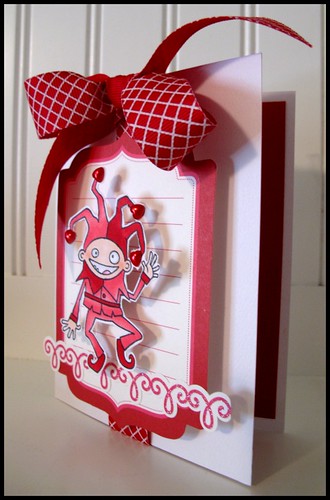
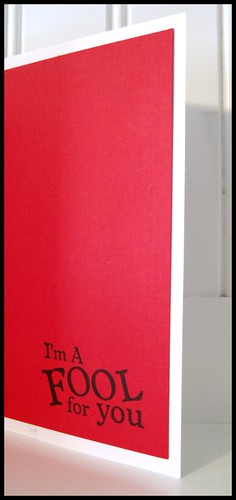
Starving Artistamps would like to introduce a darling new set of stamps designed by the very talented Nina Aasulnd. Nina's new line of Antidespesstamps Royalty are regal and fun all bundled in one! Here is one card I designed from Nina's line with many more to come.

Thanks for all your sweet comments!
Photobucket

Monday, February 14, 2011

My Amore'

gluedots spring bag1

bag3

closeup spring bag2


~Happy Valentine's Day~

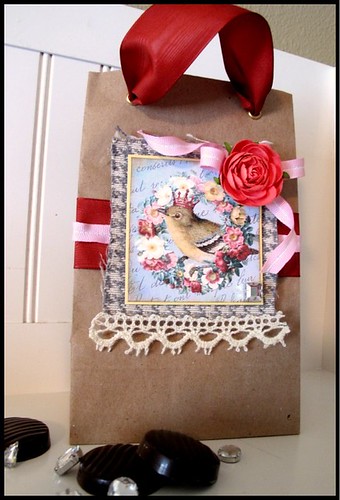
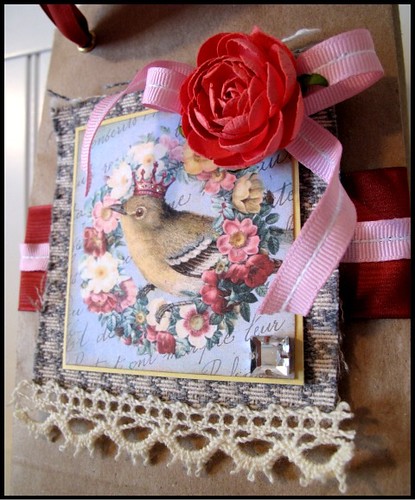
Here is a special gift bag I made to be filled with treats, like chocolate and diamonds and given to the one you love.

I assembled this bag with the help of Glue Dots®. I love Glue Dots® versatility. They have a dot for every use, they make my crafting a whole lot easier. Visit Glue Dots® site for all of their fabulous products.

Thanks for all your sweet comments!
Photobucket

Sunday, February 6, 2011

Snowed In • Glue Dots®

It seems like the whole U.S. in under a white fluffy blanket of snow. When the kids are jumping up and down with excitement due to the magical "Snow Day" us moms are panic stricken on how we are possibly going keep the little ones occupied. Here is a simple, quick crafty project to keep the little girls in your life busy for at least an hour.

Homemade Hair Clips

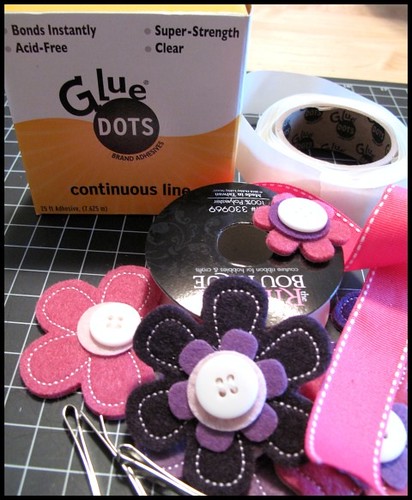
Supplies:

Glue Dots® Super Strength & Glue Dots® Continuous Line
Ribbon
Pre made felt flowers
Hair clips

supplies hair


Directions:

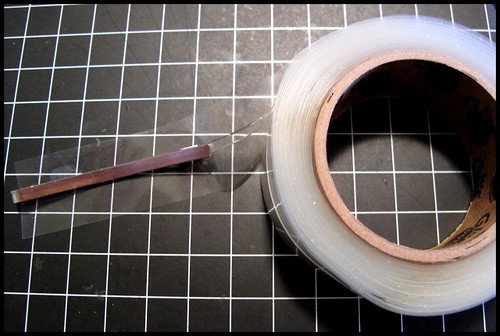
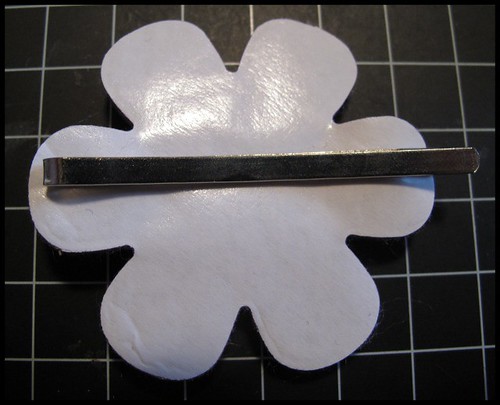
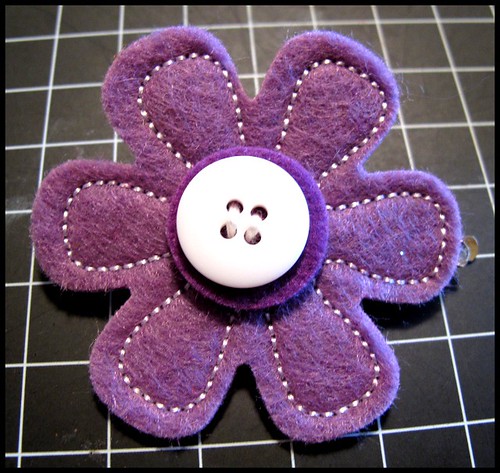
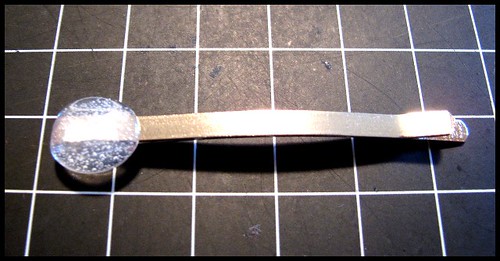
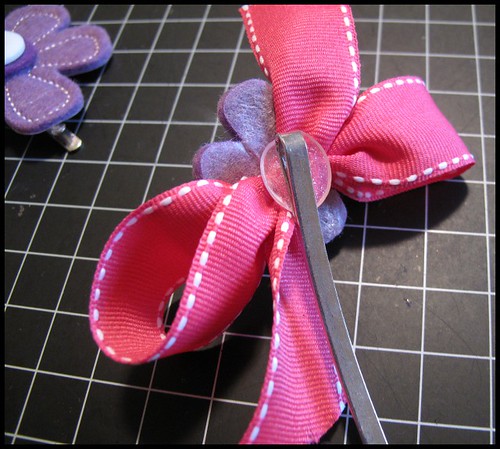
Gather your supplies. Using your continuous line Glue Dots® place the sticky line on the top of your hair clip. Place a pre made felt flower onto the sticky strip and you have an adorable hair clip. On the second clip tie your self a medium bow, using your glue dots place a dot in the middle of your bow. Place a small felt flower on the glue dot. Using another glue dot stick one onto the end of a hair clip then stick your bow on top of that. When finished place a circle of felt onto the back of the exposed glue dot.

continiousline

backofflower

flowerbarette1


gluedotclip

backofclip2

clip2

Thanks for all your sweet comments!
Photobucket


SITE DESIGN BY DESIGNER BLOGS