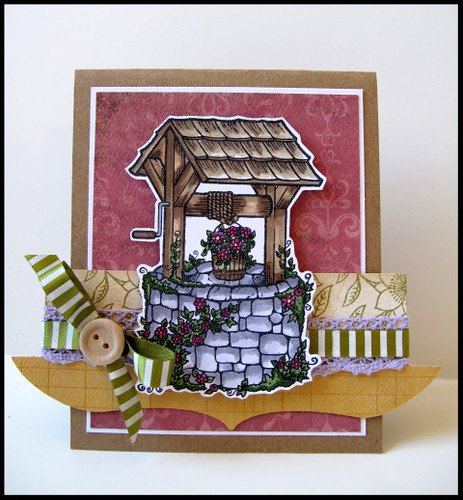
Thanks for all your sweet comments!
Sunday, October 31, 2010
October 31st
Thursday, October 28, 2010
Christmas Hurricane Vase
There are so many unique creative ways to use your Glue Dots®. Here is just one fun way that is easy and makes beautiful impact to your holiday decor.
Removable 1/2 glue dots
Glitter
Pillar candle
Step 1:
Place your glue dots on the outside of your pillar candle and dust with glitter. Use a large makeup brush to get the excess glitter off your candle.
Decorate a glass hurricane vase to match your new fabulous glittery polka dot candle.
Monday, October 25, 2010
Thinking of You
Thanks for all your sweet comments!
Friday, October 22, 2010
Mrs. Frankenstein
Thanks for all your sweet comments!
Wednesday, October 20, 2010
G.C.D. Chipboard
Chipboard Techniques:
Plain chipboard all ready to be dressed up!
Trace your chipboard on your fab G.C.D. paper and cut out.
Adhere your paper to your chipboard and using a sanding block or nail file distress your chipboard paper. This G.C.D. paper is perfect for distressing because it is a linen paper.
Another cool technique for chipboard is to paint directly onto your chipboard and while the paint is still wet, dip into glitter this is called sugaring. This is one of my favorite chipboard techniques.
Thanks for all your sweet comments!
Monday, October 18, 2010
Special Thanks
Thanks for all your sweet comments!
Wednesday, October 13, 2010
Purple Orchids
Thanks for all the sweet comments!
Monday, October 11, 2010
Spooky Halloween Treats
Halloween night is just around the corner and that candy bucket needs to be filled. Here are some cute not too spooky Halloween treats and a tutorial on how you can make them using Glue Dots® and The Craft Lounge Sparkle Fluff. I am a new designer for Glue Dots® so stay tuned for more projects using their wonderful product!
Spooky Halloween Treats
Featured Products: Glue Dots® and The Craft Lounge Sparkle Fluff.
#1 Out of thick black card stock cut a piece of paper 7" long x3 1/2" wide. Score in the middle at 3 1/2 and then again at 4".
#2 Punch holes at the top of your treat bag and use pinking sheers to trim the top of your treat bag.
#3 Trim your patterned paper to fit on the face of your treat bag and adhere with Glue Dots®
#4 Stamp your image on white paper and heat emboss everything except the bow. Color the bow with a glue pen. While still wet sprinkle the bow with your Sparkle Fluff and let dry. When dry cut out the image.
#5 Fold up your treat bag and embellish the front with ribbon. Adhere your stamped image with a Glue Dots® popped dot, to give it a popped up look.
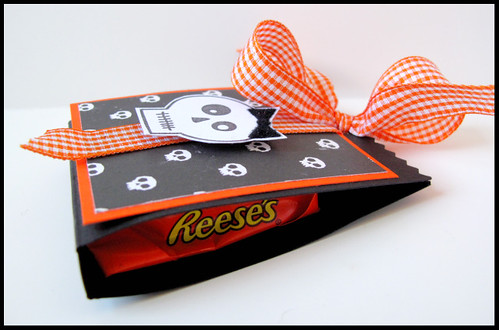
#6 Take your piece of candy and adhere it to the inside of your treat bag with a Glue Dot®
#7 Fold up your treat bag and tie it off with ribbon.
Enjoy!
Thursday, October 7, 2010
Vintage Halloween G.C.D. Style
When my daughter was little I used to start sewing her Halloween costume in August and finish just in time for the exciting night of trick or treating. Now that she is all grown and in high school she isn't in to being my cute bunny, piggy, bat or pumpkin. Although I miss dressing her all up I still love getting into the holiday spirit by decorating my home.
Here is an adorable Shabby Chic door knocker using G.C.D. products. I will be displaying this piece in my home this Halloween. Our facebook challenge was to use Black/Cream and one eye popping color, mine Orange to create our home decor.
Thank you for all your sweet comments!
Wednesday, October 6, 2010
Wishing You Well
I had such a fun time coloring with my copic markers this new batch of stamps, Juniper and Jupiter's Exterior Elements from Starving Artistamps. Coloring to me is very therapeutic, calming and zen.
Thank you for all your sweet comments!